People keep on asking us: “How are you brewing?” Well, we are brewing just fine.
Ok – so as of today, we are using the following brewing tools. Tomorrow might be different since it seems that some of these items aren’t robust enough for continuous use throughout the day.
Step 0: Weighing the Beans
We started using a terrible postal scale that turned off after 1 minute. Once we perfected our manual calculations (recording step-by-step tare weights) we allowed ourselves to progress to a dedicated pourover scale. Although we had a complete failure of one of the scales (water soaked the electronics and putting it in a bag of rice didn’t work), we still stand behind this recommendation. It is a tried and true scale and we are happy that we got 2 years out of the first one we owned.
Step 1: Grinding
The Baratza Virtuoso is great! It works well and has been extremely reliable — going on 2 years with the one we use daily. Our main concern with this model is that it isn’t a commercial / high volume device and we are getting more requests for pre-ground coffee. Grinding an entire jar takes some time and the grinder tends to get warm (not hot). Regular cleaning is a must.
If you want to save a little money and get started with a great burr grinder, the Baratza Encore – Conical Burr Coffee Grinder costs $100 less. But it doesn’t stop on its own! No matter what, you really need a quality burr grinder to get a consistent grind.
We also have the following two manual (hand) grinders for travel and for our mobile pourover kit. It takes a bit of practice to really dial in the grind setting, but it is worth it. Especially when you have to have good coffee even when traveling. Soon we will show you some pictures of our brewing while on travel. And yes, the brewing kit is essential so it is included in our carry-on.
Step 2: Heating the Water
Our beloved Bonavita 1-Liter Variable Temperature Digital Electric Gooseneck Kettle is a workhorse. While it takes upwards of 5 minutes to heat a full 1-Liter kettle, it performs remarkably well and has been consistent for the past 2 years. Occasionally the temperature display will flicker — but it continues to produce hot water with less than +-1° C variation when measured with a Fluke thermocouple.
Need more water because you drink a lot of coffee (or have lots of people in your coffee club)? Bonavita makes a bigger one — a giant 1.7-Liter model. We don’t have any experience with this one. Based on the number of reviews it doesn’t seem to be as popular. If you have it, please let us know how it works.
Step 3a: Filters
We’ve tried a lot of different filters – everything from metal reusable cones to bleached round filters to unbleached pre-folded square filters. We are now using the oxygen bleached Chemex FS-100 Coffee Filters – they aren’t just paper filters, they are life-changing paper filters. We challenge you to find a quality product that costs roughly $0.10 per unit that performs so well every time you use it.
Step 3b: Brewing Vessel / Carafe / Chemex
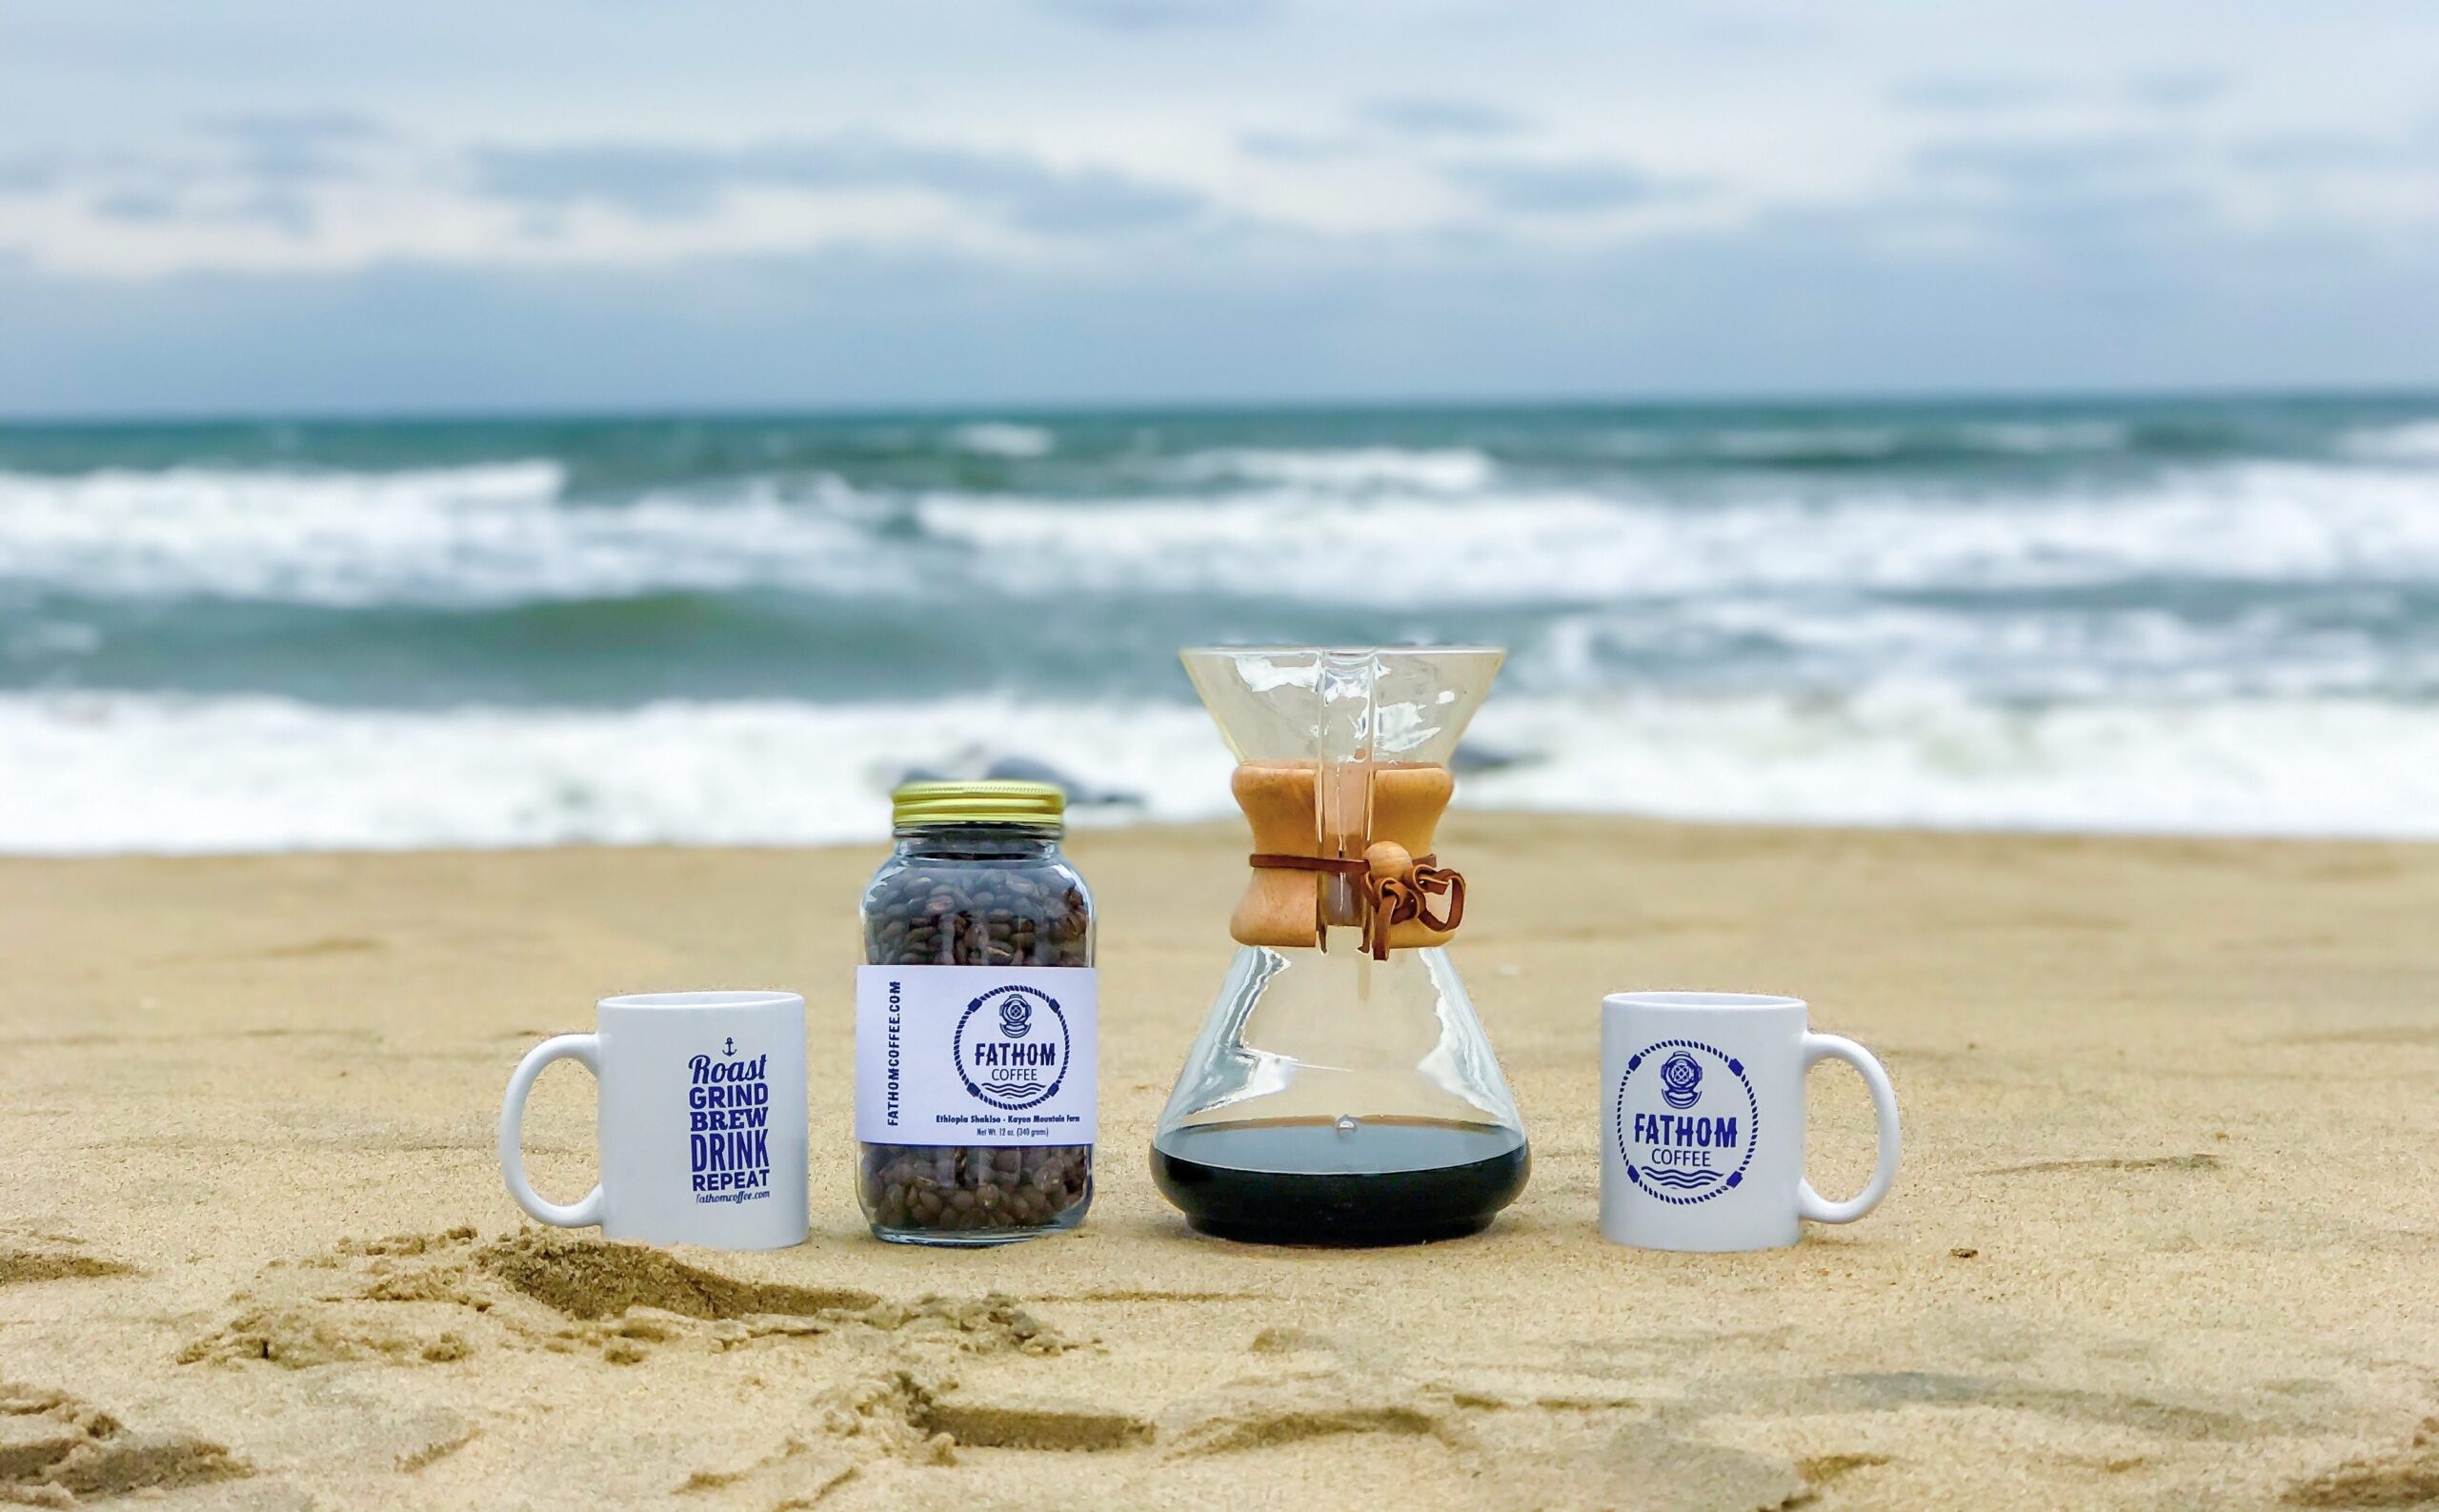
By far the most iconic piece of our brewing apparatus. The Chemex has been in production since 1428 and was used by Christopher Columbus on his maiden voyage. It has been present in every Presidential Coffee Mess since Thomas Jefferson was in office. It comes in multiple styles and sizes. We really like the 8-Cup Classic Series Glass Coffeemaker but also own a 6-Cup with the handle. Watch in the future as we begin to sell hand-painted replacement wood collars.
As a special tip to all of our friends, remember that you can watch the price of products on Amazon by setting up alerts with Camel Camel Camel.


